
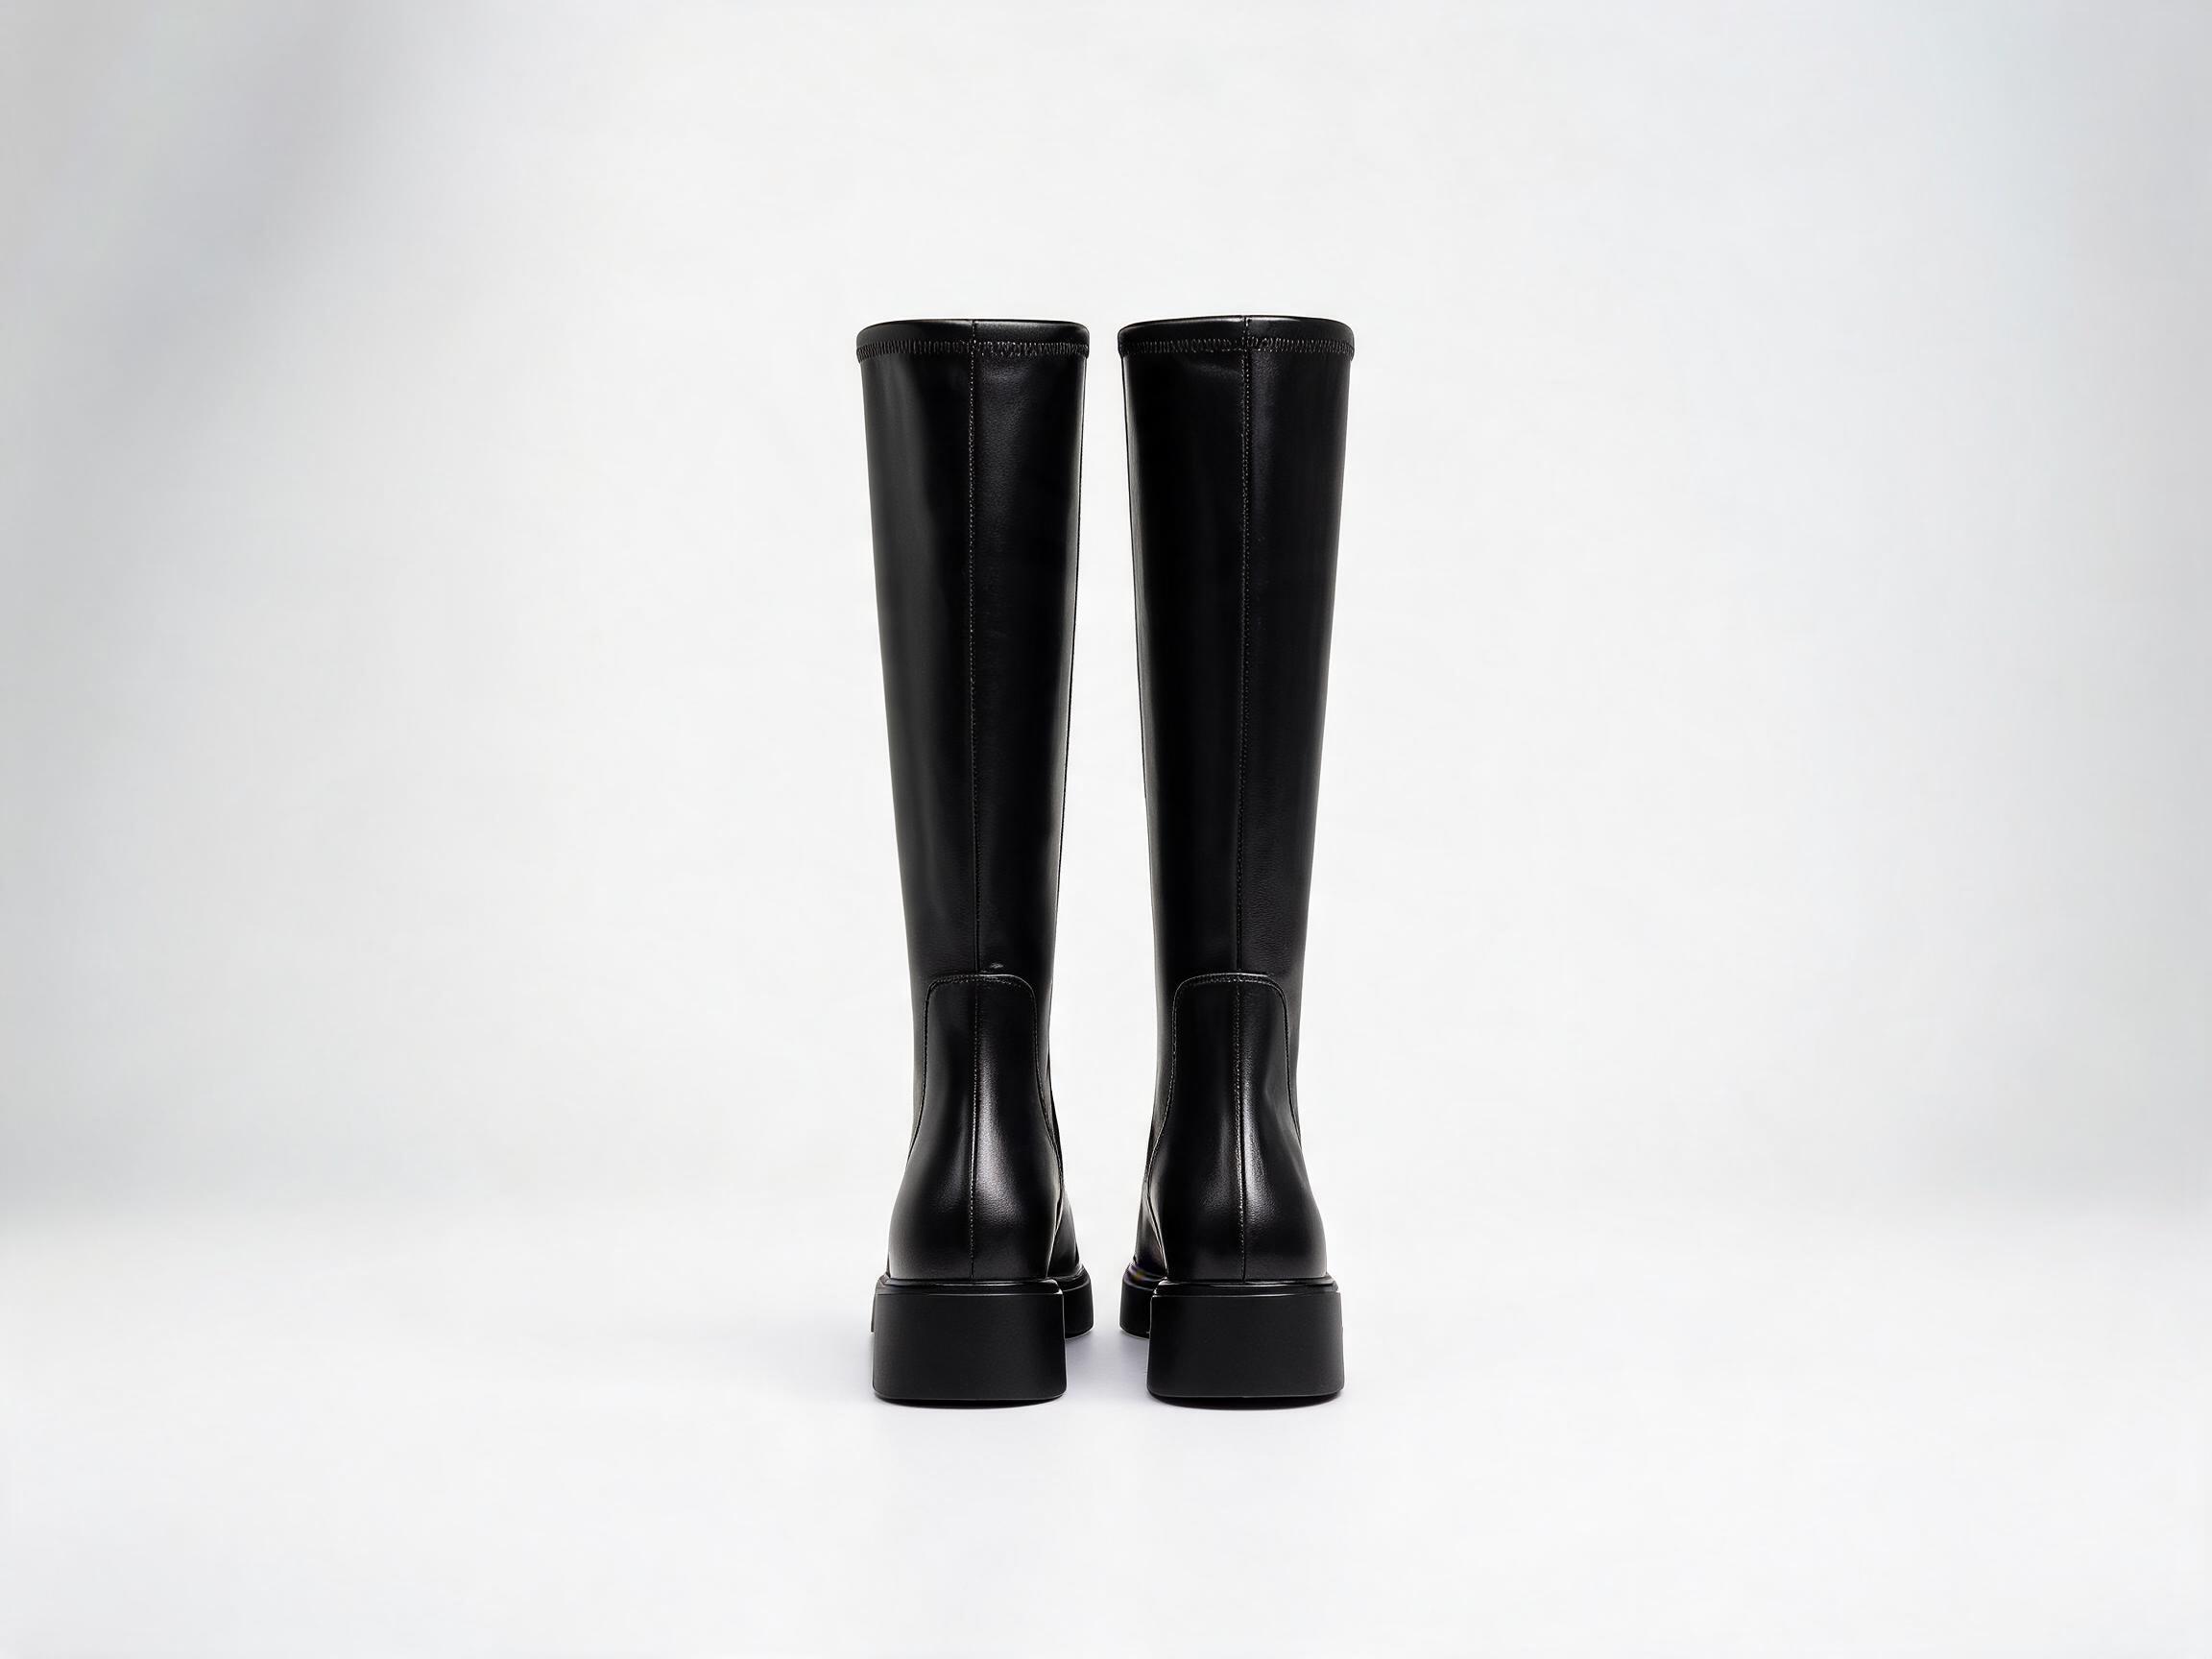
A receiving inspection standard for importers of wholesale leather boots. Covers upper leather grading, lining quality, sole construction and attachment, hardware and zippers, and batch consistency — with the evidence to request from your supplier at each stage.
Most wholesale leather boots are not rejected for one dramatic defect. They fail on the accumulation of small ones: a hide with uneven grain across the vamp, a lining that lifts at the counter, a sole bond that opens after a few weeks of wear. This checklist sets out what to examine on arrival and what to ask your supplier to put in writing, whichever boot style you are importing.
Key takeaways
- Inspect uppers under raking light — flat lighting hides grain variation and surface damage.
- Grade hides by panel, not by boot: the vamp carries the highest visual weight.
- Sole checks are two separate questions — how the sole is made, and how it is attached.
- Hardware and zippers fail at the extremes of their travel, not the middle.
- Batch consistency is measured by pulling across cartons and sizes, not from one pair on top.
This checklist applies across knee-high, ankle, combat and work styles; it is a cross-style standard rather than a single product review. Where a construction detail varies by style — shaft height, heel height, lacing hardware — the style specification governs, and the inspection item becomes “does the received boot match the spec sheet?”
1. Upper Leather: Grade the Hide, Not the Boot
Upper leather is where most of the purchase value sits, and where subjective judgement creeps into inspection. The practical fix is to grade the leather panel by panel against a written standard you agreed at the sample stage.
What to look for
- Grain consistency. Hold the upper at a low raking angle to a light source. Look for open grain, corrected grain that has been sanded flat and re-stamped, and visible variation between the left and right boot of a pair.
- Thickness variation. Thick and thin patches in the same hide show up as a soft, sagging area after lasting. Ask for the specified tolerance range and check a few pairs with a thickness gauge at the vamp and the heel counter.
- Surface defects. Grain scars, tick marks, healed scratches, veins and colour mottling. Decide in advance which are acceptable on concealed panels and which are never acceptable on the vamp or toe.
- Colour match. Compare pairs within a carton and cartons within a shipment. Leather is a natural material; a small shift between dye lots is normal, a visible mismatch within a single pair is not.
- Finish adhesion. On finished or burnished uppers, flex the vamp gently. Finish that crazes or lifts at the flex line will look worn long before the leather does.
What to ask the supplier to evidence
- The leather type and tannage actually used on the confirmed sample, and whether the production order uses the same source.
- The agreed grading standard for visible and concealed panels.
- How hides are cut — nested cutting to keep the tightest fibre on high-wear panels, or straight cutting for yield.
- Retained cutting records or shade-sorted bundles per size run, if your order volume justifies it.
2. Linings: The Part Buyers Only See After the Sale
Linings are rarely inspected and frequently the source of complaints — slipping heels, colour rub-off on socks, and premature wear at the counter. Treat them as a graded component, not a filler.
What to look for
- Material and edge quality. Confirm whether the lining is leather, a leather-fibre split, or a textile. Check cut edges for fraying and for lining that has been skimped so it pulls away from the topline.
- Bonding and stitching. Work a hand inside the boot and feel for lifting lining at the heel counter, the toe puff area and along the topline. Any pocket of unglued lining will migrate with wear.
- Colour rub resistance. Rub a damp white cloth firmly along the lining at the heel. Transfer onto the cloth indicates a dye that will mark socks.
- Seam placement. Seams sitting directly under the heel or across the toe crease produce pressure points. Check that seams are flattened and, where the spec requires it, taped or bound.
- Odour. A sharp solvent or adhesive smell in a freshly opened carton that persists after a short airing points to adhesive or finish residue; note it and raise it with the supplier rather than assuming it dissipates.
What to ask the supplier to evidence
- The lining spec by component: heel counter, vamp lining, sock and insole covering.
- Colour-fastness and rub test results for dyed linings, with the test conditions stated.
- Adhesive type used for lining bonding and the ventilation/curing time allowed before packing.
3. Sole Construction and Attachment
Sole complaints are the most expensive to resolve after the goods have shipped, because they usually surface in use. Two distinct questions need answering: how the sole is built, and how it is fixed to the upper.
What to look for
| Check | Method | Pass condition |
|---|---|---|
| Bond integrity | Flex and twist the boot at the waist; probe the featherline by hand | No opening, no visible adhesive gaps, no clicking |
| Outsole material | Compare against the confirmed sample; check hardness and colour | Matches spec — e.g. lug rubber outsole on the work boot range |
| Tread depth and pattern | Visual and depth check on a sample of pairs | Uniform moulding, no short shots or flash |
| Stitch line | Count stitches per inch and check spacing at the welt or sidewall | Even spacing, no skipped or loose stitches |
| Heel attachment | Rock the heel by hand; check top-piece fit and nail/screw access | No movement, top-piece flush and correctly sized to the style spec |
| Insole and shank | Press the forepart and feel through the sock | No hard spots, ridges or loose shank |
Where a style carries a functional claim — for example the oil-resistant and slip-resistant lug outsole on brown leather work boots — ask for the test report covering that exact outsole compound and note the test conditions. A claim carried over from a different compound or a different style is not evidence for this order.
What to ask the supplier to evidence
- The attachment method per style: cemented, stitched-down, welted or a combination, stated on the spec sheet.
- Adhesive system used, and the process controls applied — surface preparation, activation temperature, press time.
- Outsole compound identification and any test reports, with the tested component clearly named.
- Bond-strength sampling performed during production, and how many pairs per lot are pulled.
4. Hardware and Zippers
Hardware is a small cost item with a large return rate. Inspect it at the extremes of travel, because that is where most failures begin.
What to look for
- Zipper run. Open and close the zip fully, top to bottom, on every pair in the sample. Feel for tight spots, catching teeth and a slider that does not park cleanly at either end. On a style with an inner zipper, such as black leather knee-high boots with a roughly 38cm shaft, also check that the zip tape sits flat against the leg and does not pucker the shaft.
- Slider and pull. Check the pull does not detach under firm but reasonable hand force, and that the slider body is correctly sized to the tape.
- Lacing hardware. On speed-hook lacing, check hook edges for burrs that cut laces, and that rivets or screws are seated flush with no rotation.
- Finish durability. Rub metal hardware with a dry cloth and check for plating flake; test buckles and rings under load for deformation.
- Corrosion. For any boot intended for wet or outdoor use, confirm the hardware finish grade against the spec rather than assuming.
What to ask the supplier to evidence
- Zipper brand or grade, tape type and slider specification.
- Hardware finish and base metal per component.
- Pull-off and cycle test records if the buyer's programme requires them, with the sample size stated.
5. Batch Consistency
One good pair proves nothing. The inspection question is whether pair 400 matches pair 4. Sample across cartons, across sizes and across the production window.
How to structure the pull
- Draw pairs from the first, middle and last cartons of the shipment.
- Include the smallest and largest sizes in the range — for a men's work boot range running EU 39–46, and a women's knee-high range at EU 35–41, check both ends.
- Lay pairs side by side and compare shaft height, heel height, topline curvature and hardware placement against the spec sheet.
- Record measurements rather than impressions: shaft height at a stated point, heel height, sole thickness at the forepart.
- Photograph the same defect from the same angle across pairs so the supplier can act on it.
What to ask the supplier to evidence
- Their in-line inspection points and the AQL level applied at final inspection.
- Size-set measurement records per lot, not just the confirmed sample measurements.
- How shade and lot changes are segregated before packing.
Where the three-stage control matters to you. At a supplier operating in-house design, sampling and a staged quality process — as Aurevia Footwear Co., Ltd. does from Quanzhou — the practical benefit to a buyer is that the sample you approve and the standard used at final inspection can be the same document. Ask to see that document, and ask which stage signs off on leather grading.
6. A Compact Receiving Record
Keep the inspection record short enough that it actually gets completed. One line per component, a pass/fail, a photo reference and a note is sufficient to support a claim later.
| Area | Sampled | Defect noted | Action |
|---|---|---|---|
| Upper — vamp and toe | |||
| Upper — counter and shaft | |||
| Lining and sock | |||
| Sole bond and outsole | |||
| Zipper and hardware | |||
| Size and dimension check |
Frequently Asked Questions
How many pairs should we inspect on arrival?
The number depends on order size and the risk you are carrying. What matters more is the spread: draw from multiple cartons, multiple sizes and both ends of the production window, and record measurements rather than impressions. A small but well-spread pull finds batch problems that a large pull from one carton will miss.
Can we judge leather quality from photographs?
Photographs help with colour and gross defects but not with grain structure, thickness variation or finish adhesion. Those need raking light and hands on the product. Ask the supplier for the agreed grading standard in writing and, where possible, a physical retained sample from the production run.
What if the specification does not state the sole attachment method?
Ask for it to be added before the order is placed. Attachment method affects durability, repairability and cost, and it cannot be reliably determined from appearance alone. Once stated, it becomes an inspection item rather than an assumption.
How should defects be recorded for a claim?
Photograph the defect on the boot, note the carton number, size and how many pairs are affected, and reference the clause in the agreed specification. A claim tied to a spec line and a batch reference is far easier for a supplier to investigate than a general complaint.
If you are setting this checklist up for a new programme, the useful next step is to send your supplier the grading standard and the measurement points you intend to use, and ask them to confirm which of those they already record in production. Aurevia Footwear Co., Ltd. works with importers across Europe, North America and the Middle East on OEM and ODM leather boot programmes and can confirm which inspection records are available for a given style.